Life in Dalton: Best Ways to Hang Items in Your New Apartment

Getting settled into a new apartment always comes with that one moment where you hold a picture frame against the wall, eyeball the height, and wonder if you are about to make a mistake. The good news is that hanging art, mirrors, and shelves does not have to be a guessing game. With the right hardware and a bit of prep, you can put things up confidently and take them down cleanly when the time comes, without leaving your walls looking like a crime scene.
Before you start drilling or hammering, be sure to review your apartment's rules and guidelines to avoid any potential issues. Additionally, it’s always a good idea to consult your property manager for approval or any specific requirements related to wall modifications.
Before anything goes into your walls, it pays to know what you are working with. Most apartment walls are drywall, which means a nail or screw will go in easily but will not hold much weight on its own without support. A basic stud finder, which you can pick up at any hardware store for under $20, can help you locate the wooden studs behind the drywall. Hitting a stud gives you a much stronger anchor point and is the right move for anything on the heavier side.
For walls where a stud is not in the right position for what you want to hang, wall anchors fill the gap. Not all anchors are the same, though, and grabbing the wrong one is a common mistake worth avoiding from the start. Each anchor type is rated for a specific weight range, so check the packaging before you buy to save yourself a trip back to the store and a second hole in the wall.
Not everything needs a drill. Lightweight pieces like small frames, canvas prints, and lightweight mirrors work perfectly well with adhesive picture-hanging strips, which hold cleanly to painted drywall and come off without leaving marks when you pull them straight down. Command strips are the most widely available option and come in weight ratings from half a pound up to several pounds per strip, so checking the listed weight of your frame before you choose a strip size keeps things from sliding down the wall at 2am. For slightly heavier frames that still do not warrant drilling, a standard picture hook with a small finishing nail works well and leaves only a pin-sized mark.
When you step up to heavier items like large mirrors, floating shelves, or wall-mounted TVs, you need hardware that anchors into a stud or uses a drywall anchor rated for the load. Use a stud finder, mark your points with a pencil, and double-check your measurements so you do not end up with extra holes to patch later. Taking two minutes to match the anchor type and weight rating to the item keeps your walls clean and prevents the sudden crash that happens when a “close enough” fastener gives out.
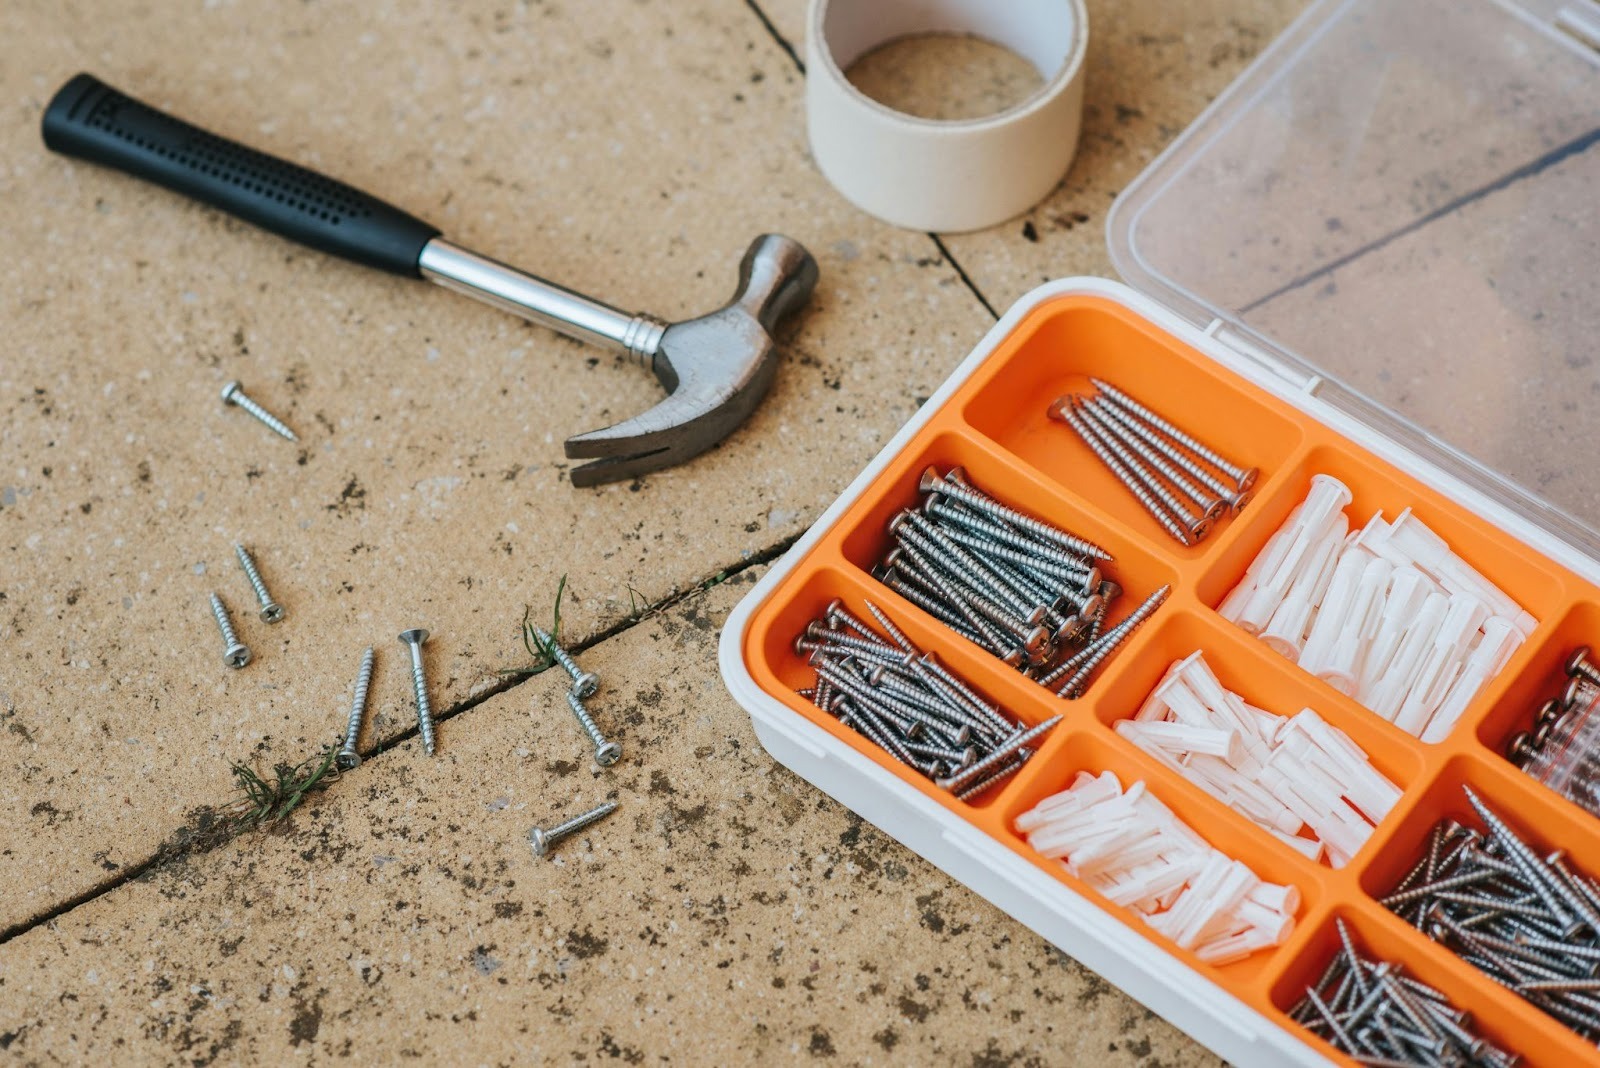
Shelves, large mirrors, floating media consoles, and wall-mounted TVs all need more than a hook and a nail. At the Lofts at Hamilton, drilling into the wall is generally permitted for functional purposes, though patching any holes before move-out is typically expected. For medium-weight items in the 20 to 50-pound range, plastic expansion anchors are the standard choice and straightforward to install: drill a hole, tap the anchor in, and drive the screw. Anything heavier, like a full-length mirror or a mounted television, calls for toggle bolt anchors, which open up behind the drywall and distribute weight across a much wider area.
A TV mount deserves special attention since it holds significant weight and gets handled regularly. When mounting a TV into drywall alone, toggle bolts rated for the combined weight of the mount and the television are the right call. Mounting into studs wherever the bracket spacing allows is even better, and most TV wall mounts have enough horizontal adjustment in the bracket holes to make stud placement work.
The single most common hanging frustration is putting something up and then immediately wishing it were two inches higher or six inches to the left. Taking a few extra minutes before drilling saves a lot of patching later on. Here are a few practical ways to nail placement before touching the wall:
Holes happen, and knowing how to close them up properly means move-out day does not become a stressful conversation about wall damage. Small nail holes from picture hooks fill cleanly with a dab of spackling paste, smoothed flat with a finger or a putty knife, and left to dry for about 20 minutes before a light sanding. Larger holes from anchors or toggle bolts take the same approach but may need a second thin coat once the first one dries and shrinks slightly. Once the spackle is dry and sanded smooth, a small brush with touch-up paint matched to your wall color makes the repair nearly invisible.
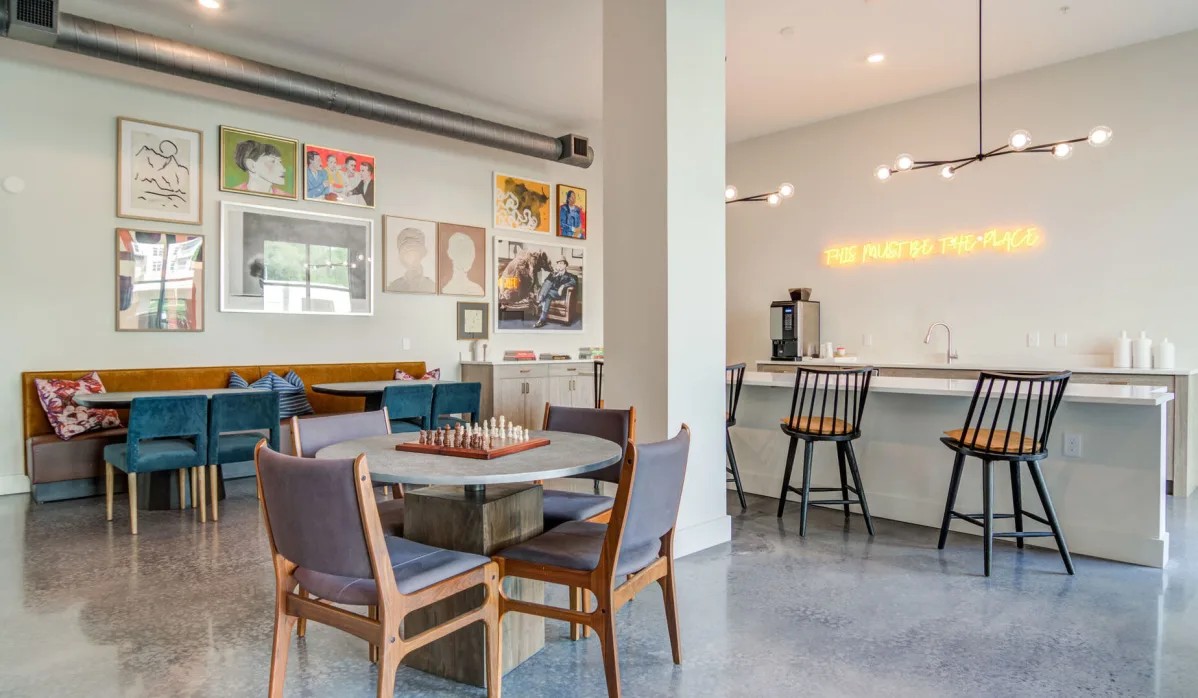
Walls that go up clean and come down clean make the whole apartment experience smoother from move-in to move-out. A little attention to the right hardware, a few minutes of planning before the first hole, and a quick patch job when things shift around keep everything looking sharp for the long haul. If you are still searching for your next place in Dalton, the Lofts at Hamilton is worth your interest. Explore our floor plans online or schedule a tour today and see exactly what you have to work with..
Browse our blog for fresh ideas, helpful tips, and the latest posts.